Connect any MCP client to MemoryPlugin’s hosted server over HTTP or SSE, with OAuth sign-in and no install
Connect an MCP client to MemoryPlugin without running anything on your machine. The hosted Remote MCP server accepts connections over HTTPS, handles sign-in with OAuth 2.0 (PKCE), and supports Dynamic Client Registration (DCR) so most clients register themselves on the first connect.
This is the recommended way to use MemoryPlugin over MCP. Compared with the local MCP server, there is no Node.js to install and no token to paste into a config file: you connect by URL and approve access in your browser. Reach for the local server only when you specifically want the process on your own machine, or when your client cannot do the browser OAuth flow. The tools and data are identical.
Account email independence: Your MemoryPlugin sign‑in email does not need to match the email you use on ChatGPT, Claude, TypingMind, or any other tool. Access and permissions are tied to your MemoryPlugin account (and API key when applicable), not third‑party logins.
Endpoints
Use whichever URL your client asks for:Base URL (with auto-discovery)
https://www.memoryplugin.com
HTTP (streamable)
https://www.memoryplugin.com/api/mcp/mcp
SSE (Server-Sent Events)
https://www.memoryplugin.com/api/mcp/sse
Most clients want the full endpoint path. Some only need the base URL and will auto-discover the rest.
Authentication
The Remote MCP server uses OAuth 2.0 with PKCE and supports Dynamic Client Registration. What this means for you:
Clients that support DCR register themselves during the first connect. There is nothing to set up in advance.
You do not hand out any long-lived secret. The client gets tokens after you approve access.
Your client stores those tokens under its own security model, for example the OS keychain.
Do not paste raw API keys into third-party clients unless their own docs tell you to. Use the built-in OAuth flow when it is available.
How the connect flow works
1
Add the endpoint
Configure your MCP client with one of the Remote MCP endpoints above.
2
Start the client
Start or refresh the client. It opens the MemoryPlugin sign-in screen in your browser.
3
Approve access
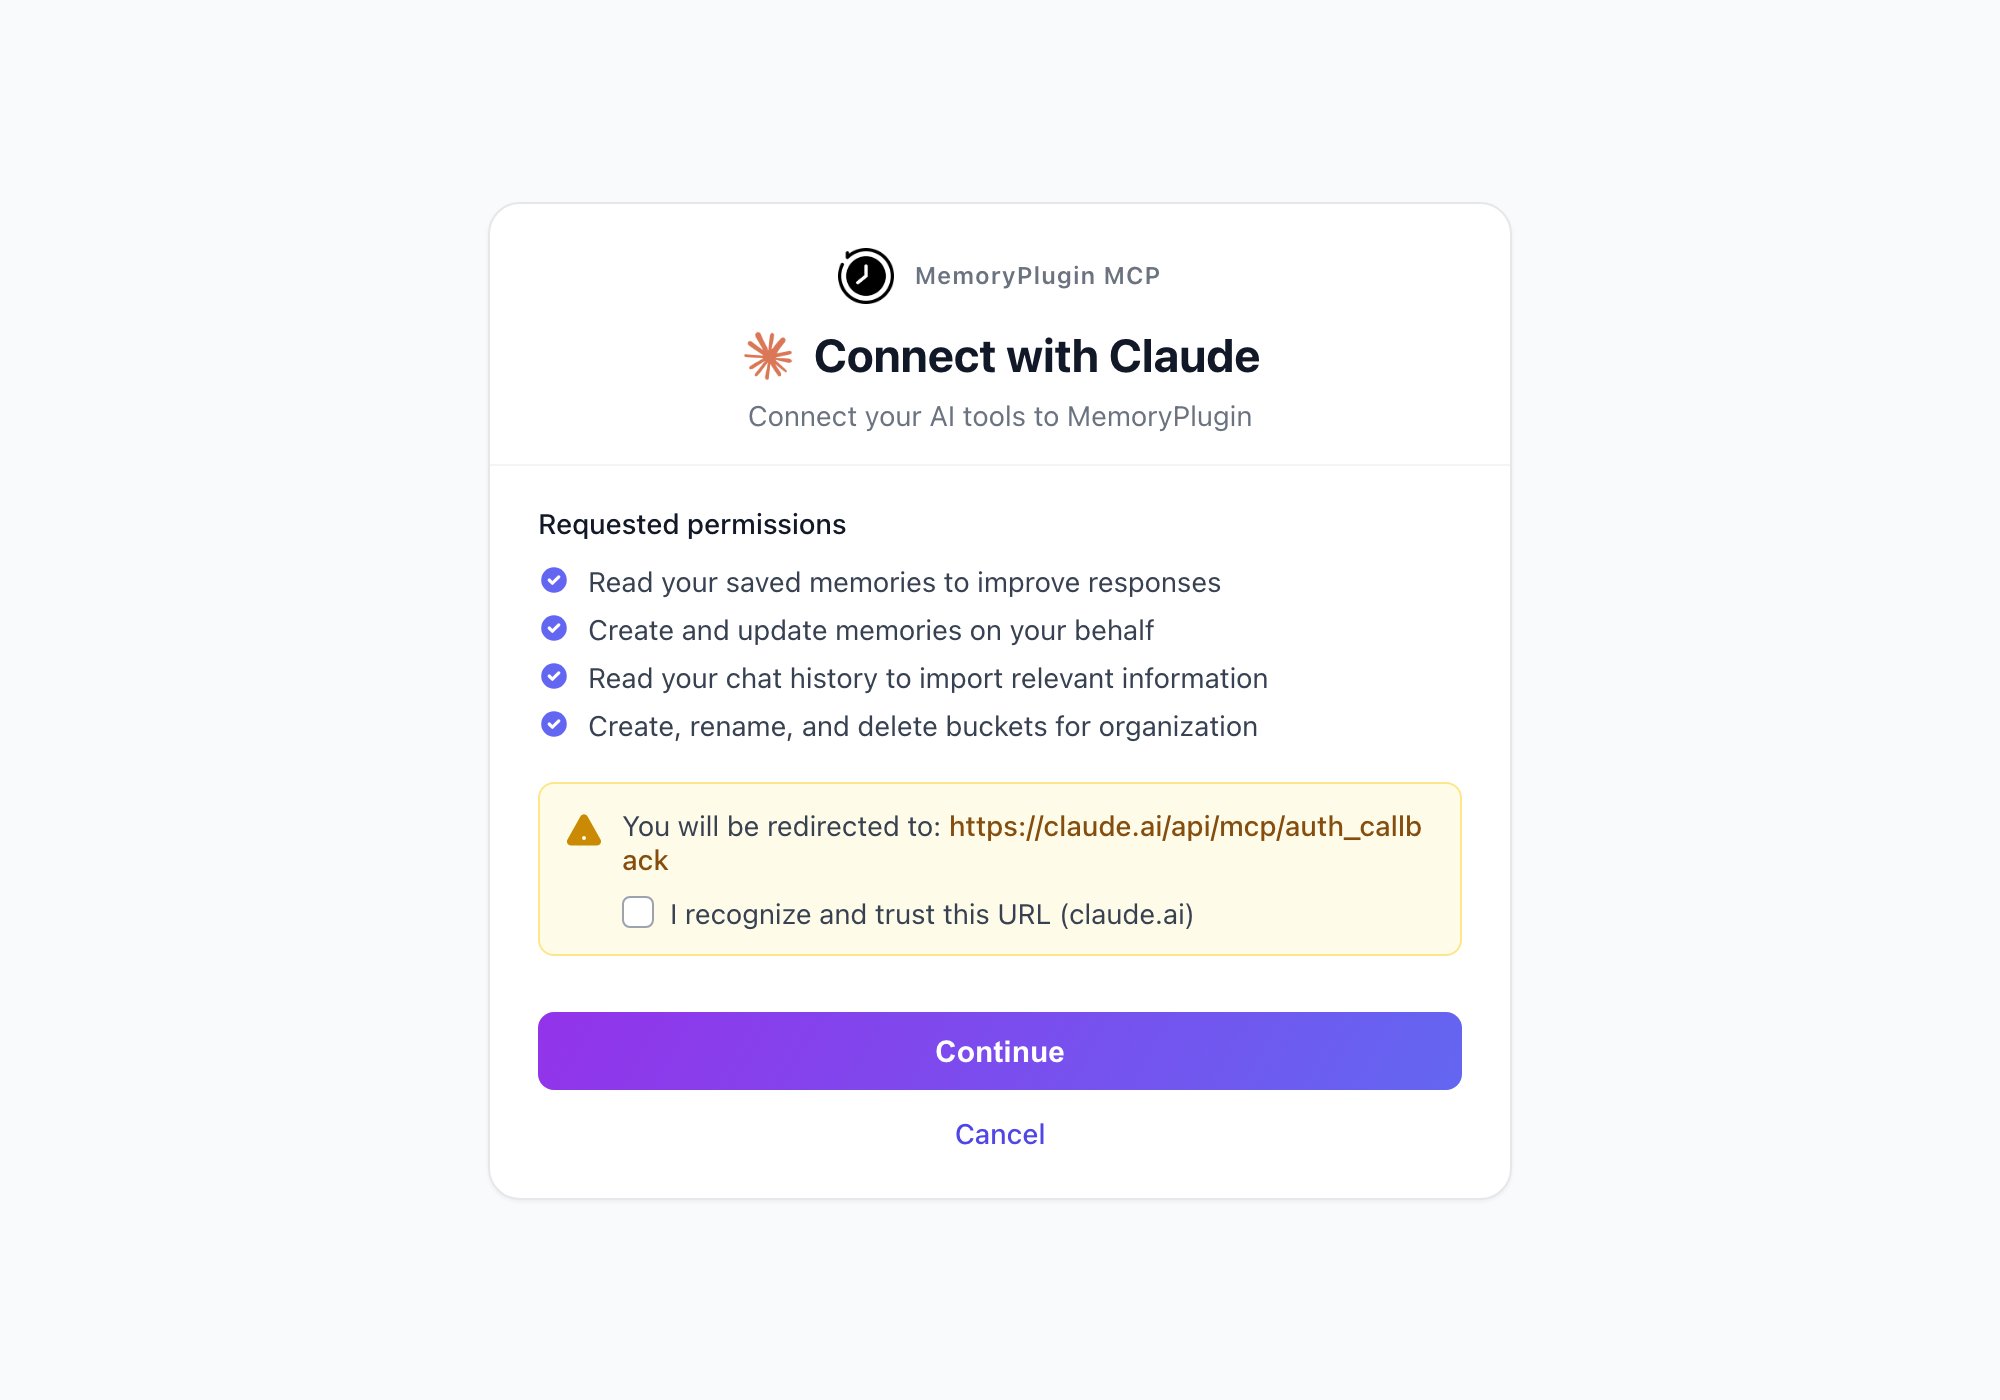
Sign in and approve the connection. The client exchanges the code for tokens behind the scenes.
The MemoryPlugin consent screen: review the requested permissions, confirm the redirect URL, and continue.
4
Connected
The client connects and lists the MemoryPlugin tools. You are done.
Client configuration examples
Each client has its own config schema for remote servers. Use these as a starting point and check your client’s docs for exact keys.